SSO Setup Guide - Okta SSO
Environment Configuration
| UAT | Prod | |
|---|---|---|
| App name | eezi_UAT | eezi_PROD |
| Identifier (Entity ID) | urn:amazon:cognito:sp:eu-west-1_jrGoNRAfk | urn:amazon:cognito:sp:eu-west-1_2y5UMRUqJ |
| Single sign-on URL (ACS) | https://eezi-uat.auth.eu-west-1.amazoncognito.com/saml2/idpresponse | https://sso.eezi.io/saml2/idpresponse |
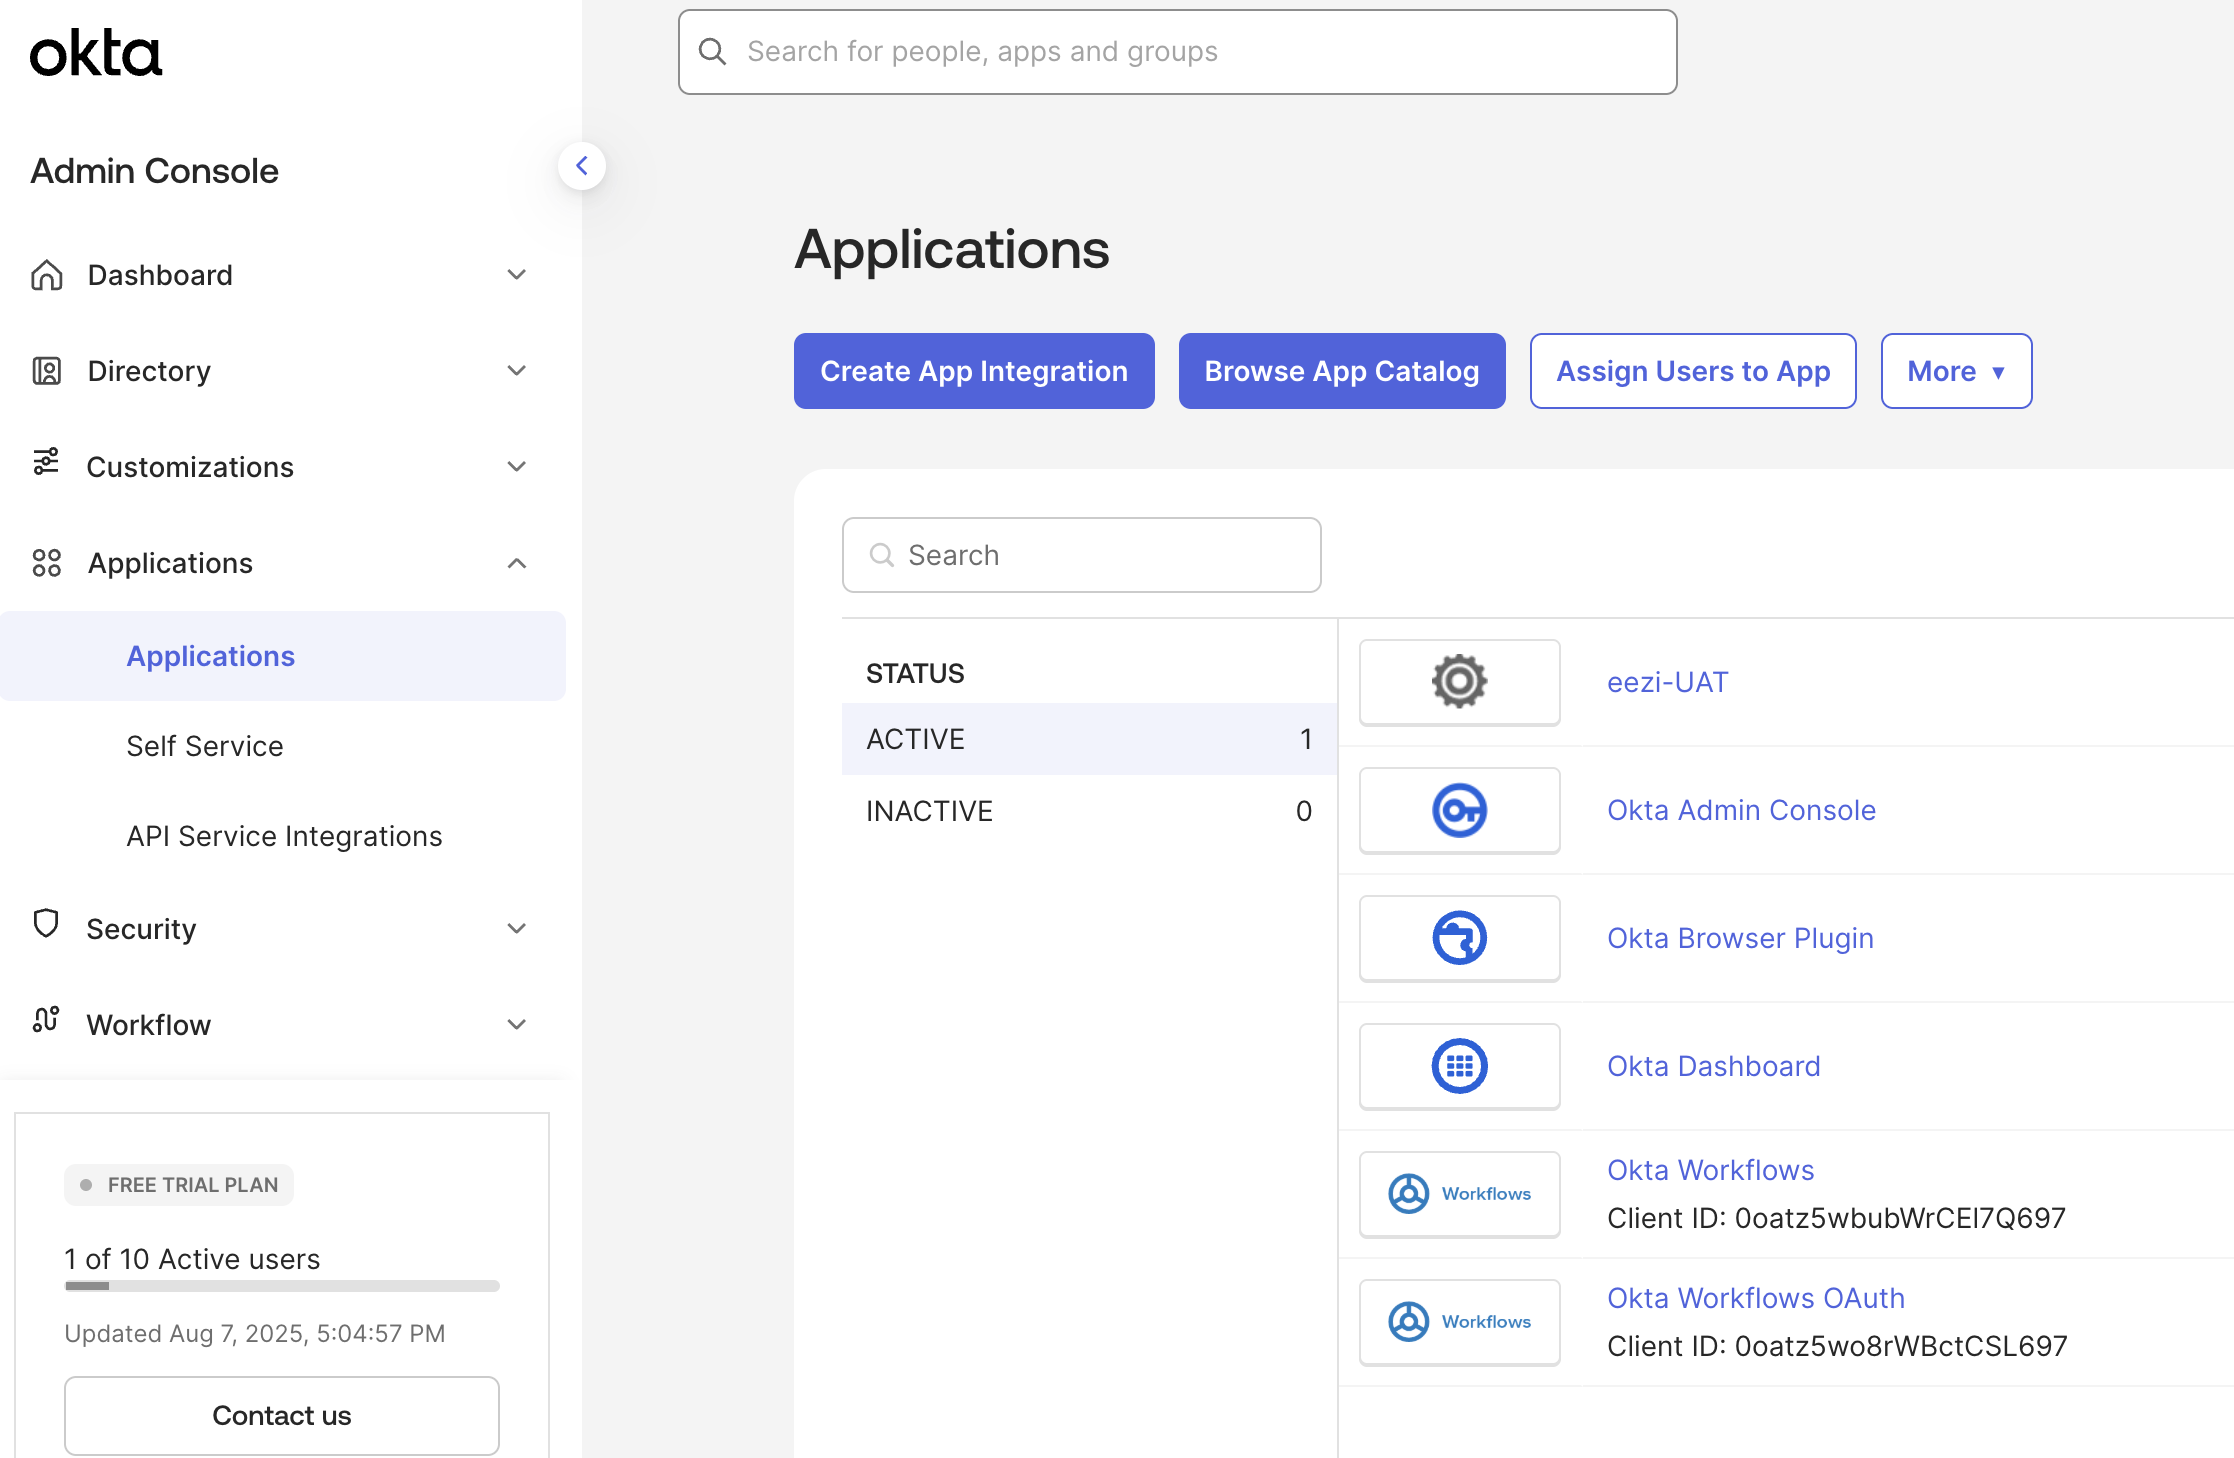
1. Create the App Integration
- Sign in to your Okta Admin Console at your organization's Okta URL (e.g.,
https://yourorg.okta.com/admin) - Navigate to Applications → Applications
- Click Create App Integration
- Select SAML 2.0 as the sign-in method
- Click Next
Applications - Create App Integration
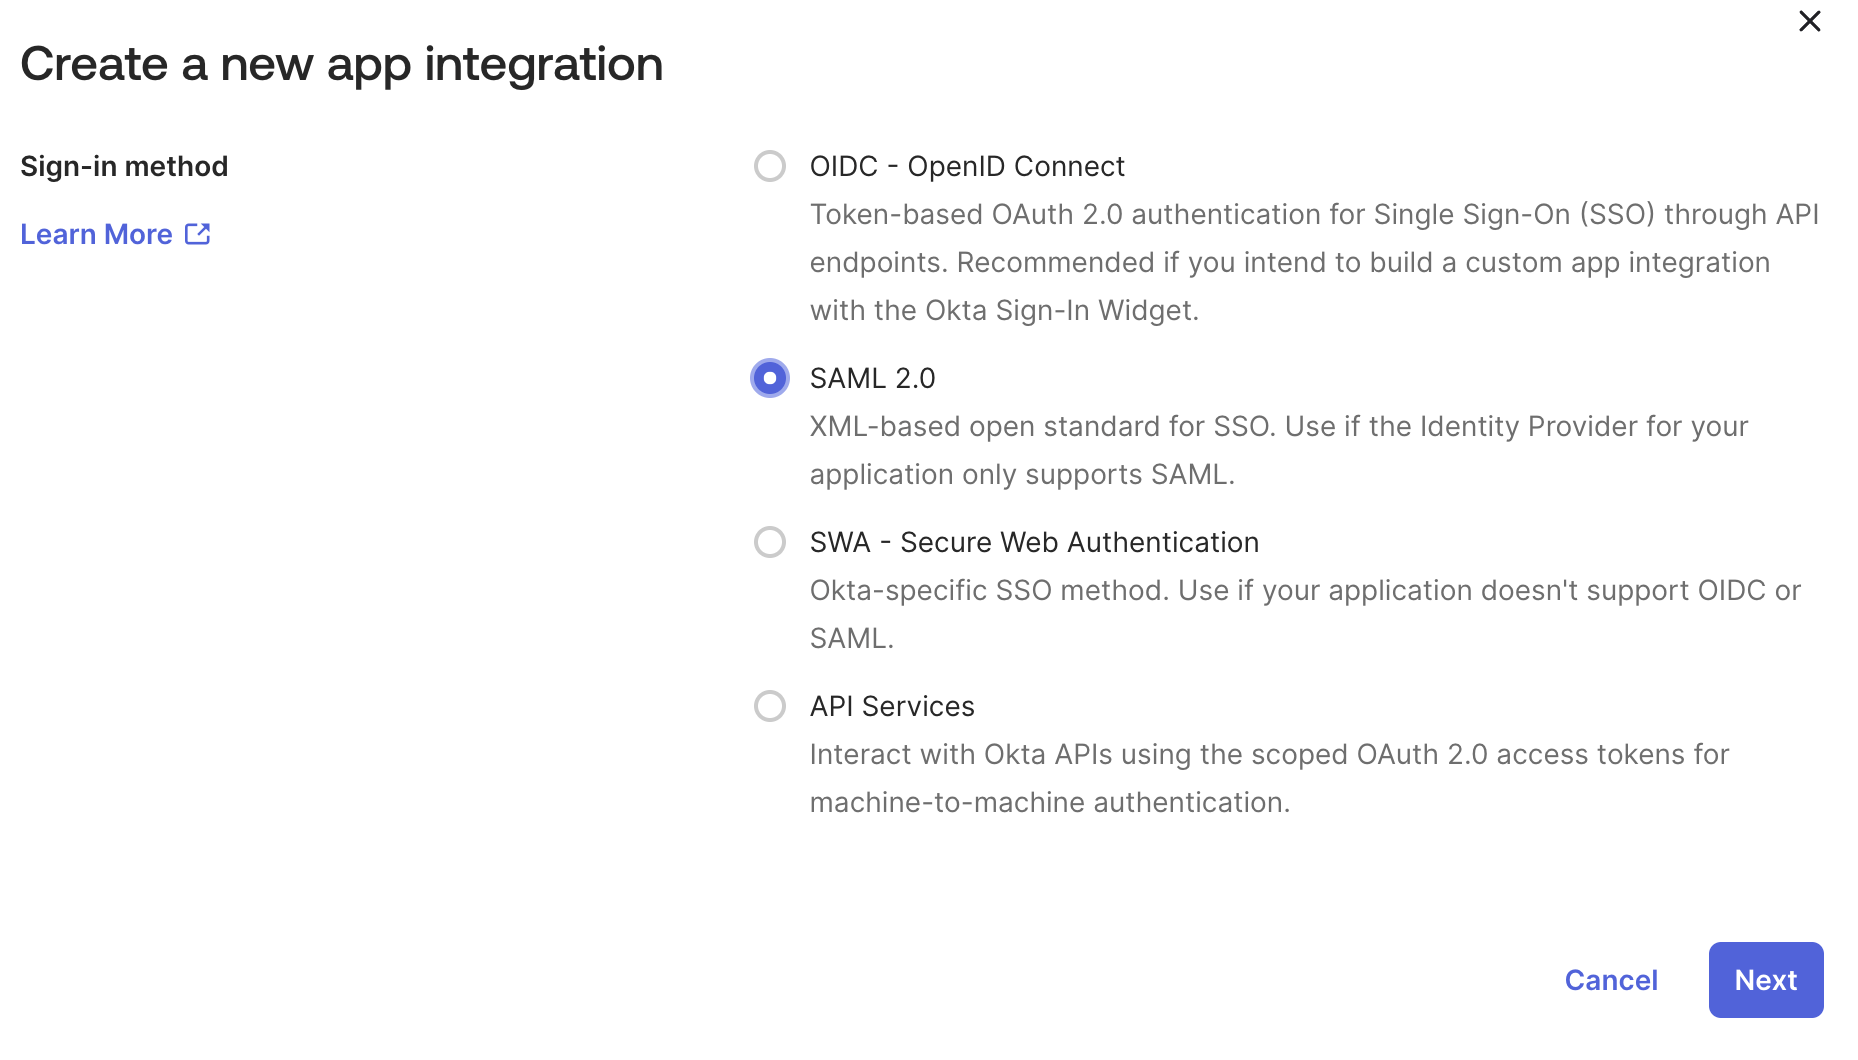
Select SAML 2.0
2. Configure General Settings
- App name: Enter
eezi-UAT(oreezi-PRODfor production) - App logo (optional): Upload a logo if desired
- App visibility: Leave "Do not display application icon to users" unchecked (users should see the app)
- Click Next
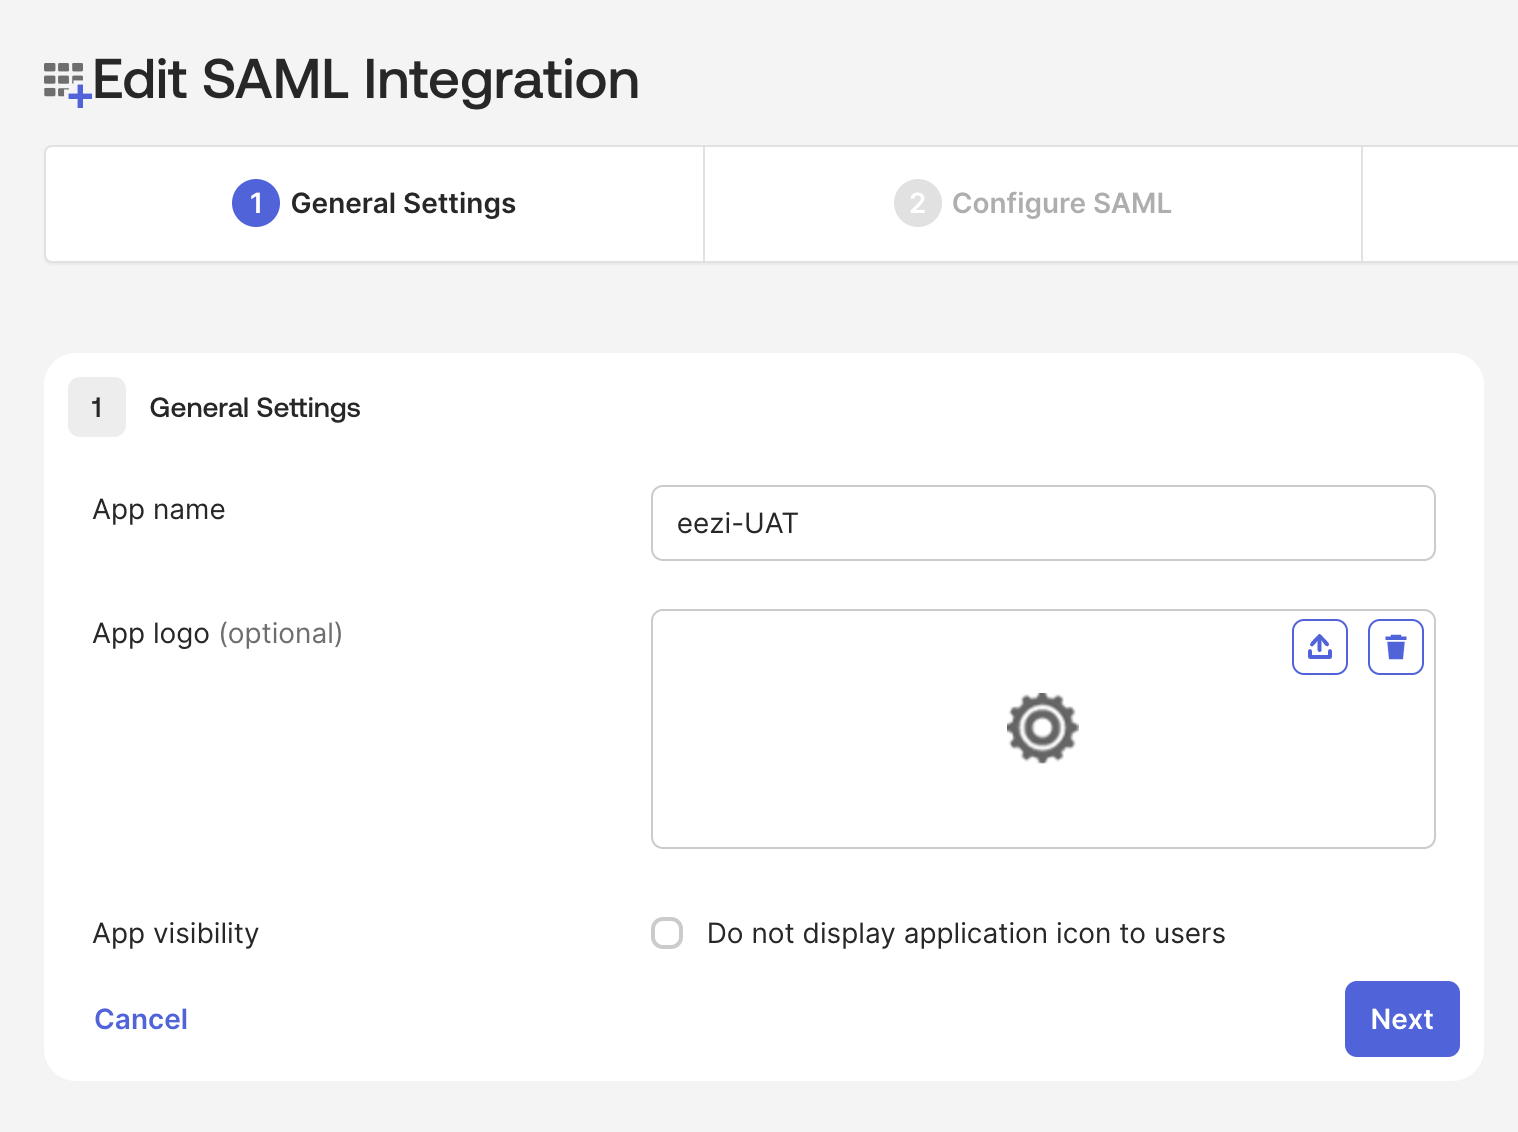
Name App integration
3. Configure SAML Settings
General Settings
- Single sign-on URL: Enter the ACS URL from the table above
- UAT:
https://sso.uat.eezi.io/saml2/idpresponse - Prod:
https://sso.eezi.io/saml2/idpresponse
- UAT:
- ☑️ Check Use this for Recipient URL and Destination URL
- Audience URI (SP Entity ID): Enter the Identifier from the table above
- UAT:
urn:amazon:cognito:sp:eu-west-1_jrGoNRAfk - Prod:
urn:amazon:cognito:sp:eu-west-1_2y5UMRUqJ
- UAT:
- Default RelayState: Leave blank
- Name ID format: Select EmailAddress
- Application username: Select Email
- Update application username on: Select Create and update
- Don't change the any of the Advanced Settings defaults.
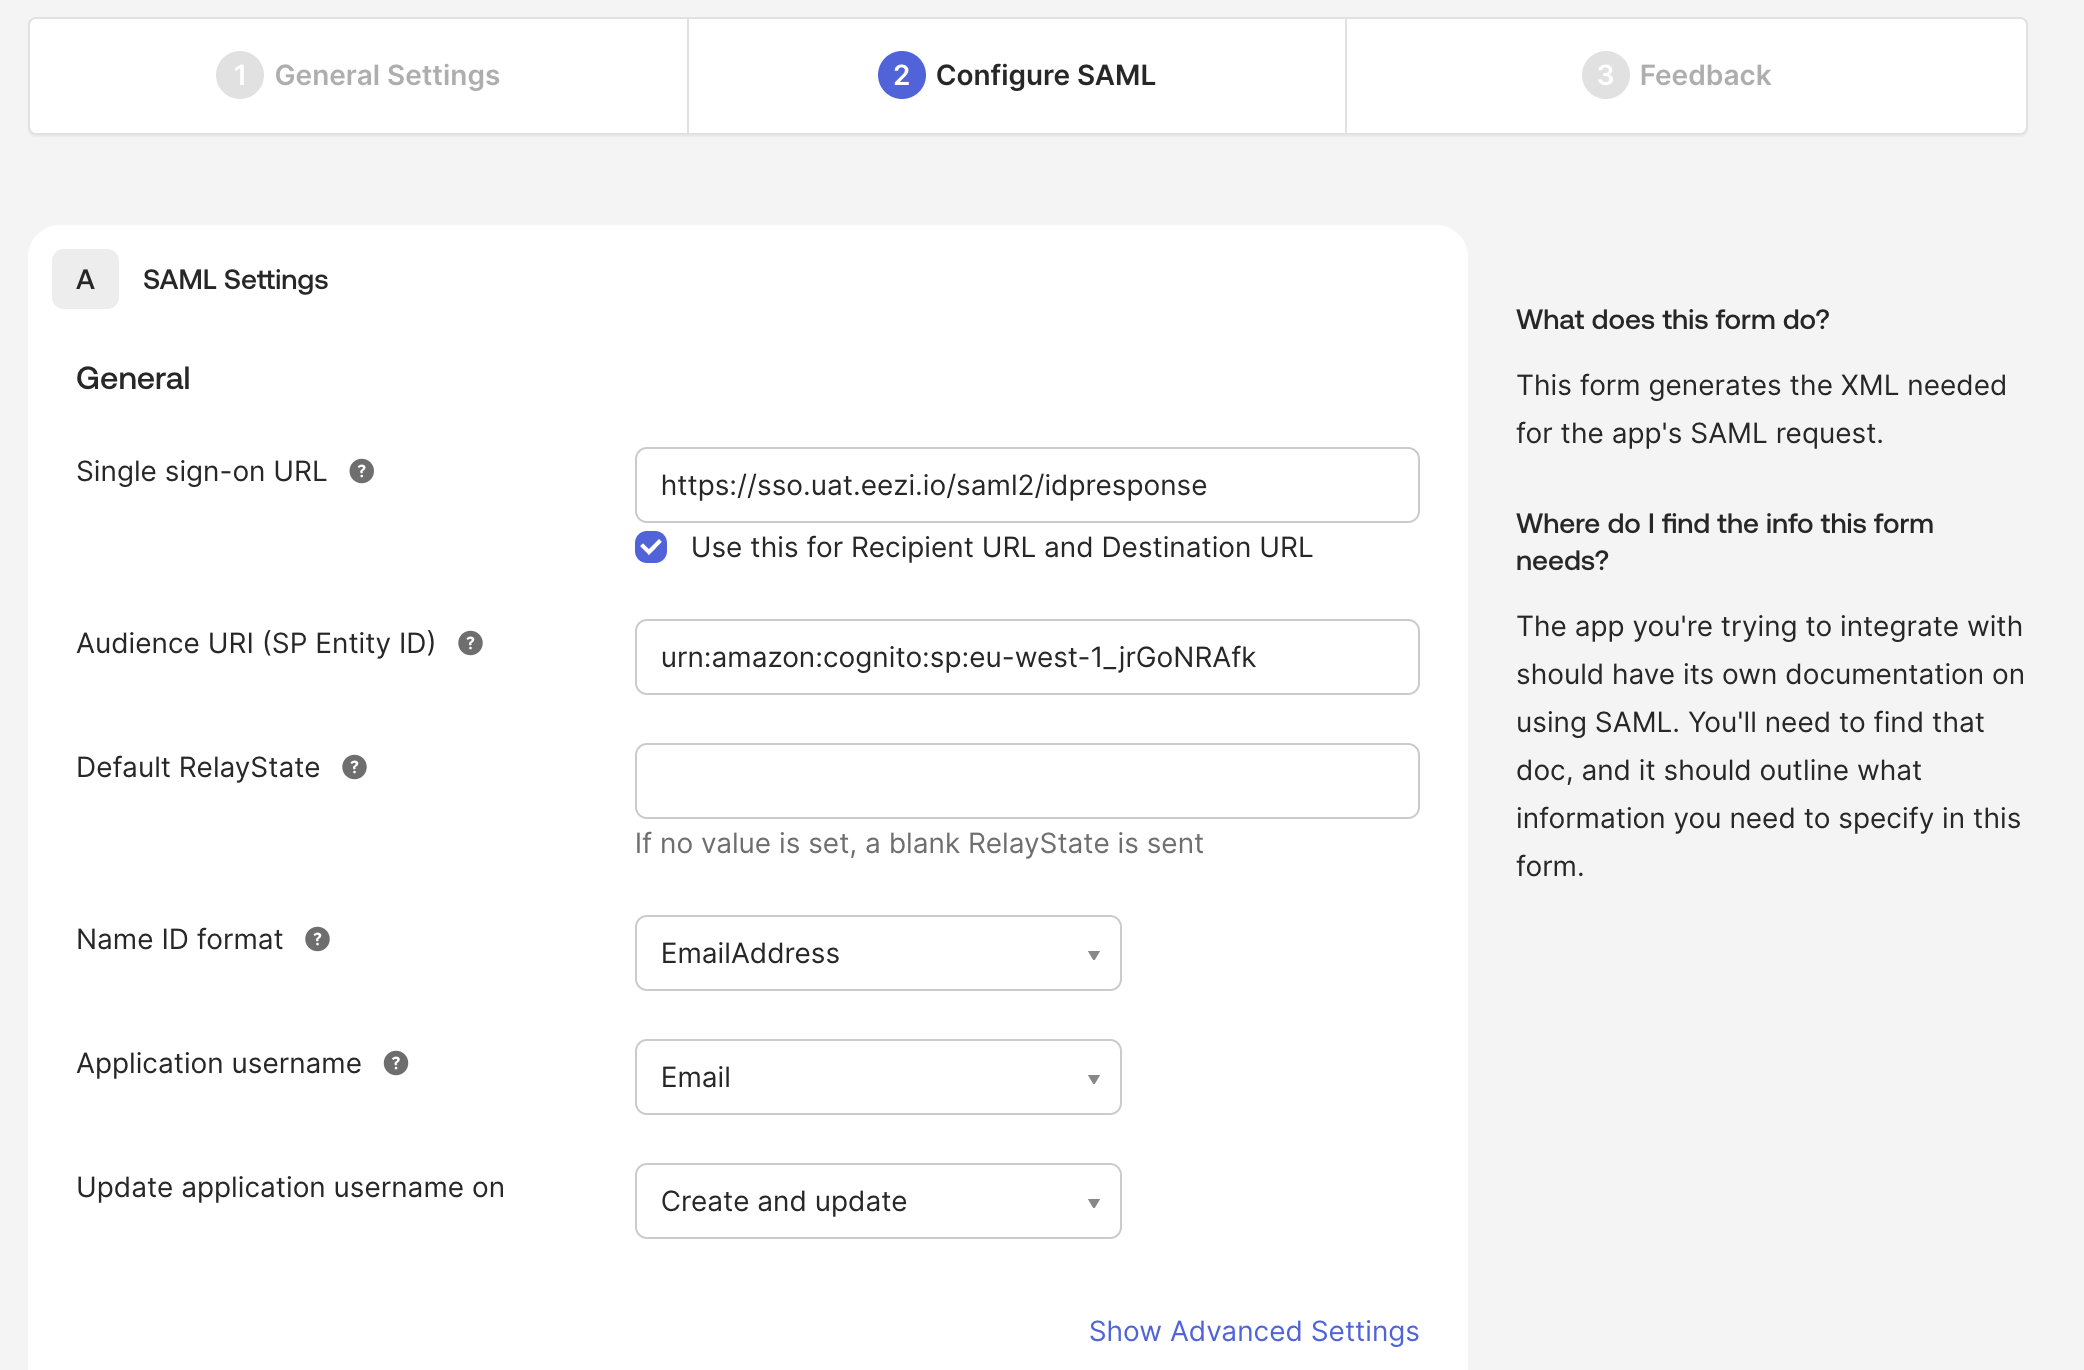
Configure SAML
Attribute Statements (Optional)
No additional attribute statements are required for basic eezi integration. The Name ID (email) is sufficient.
Click Next after configuring these settings.
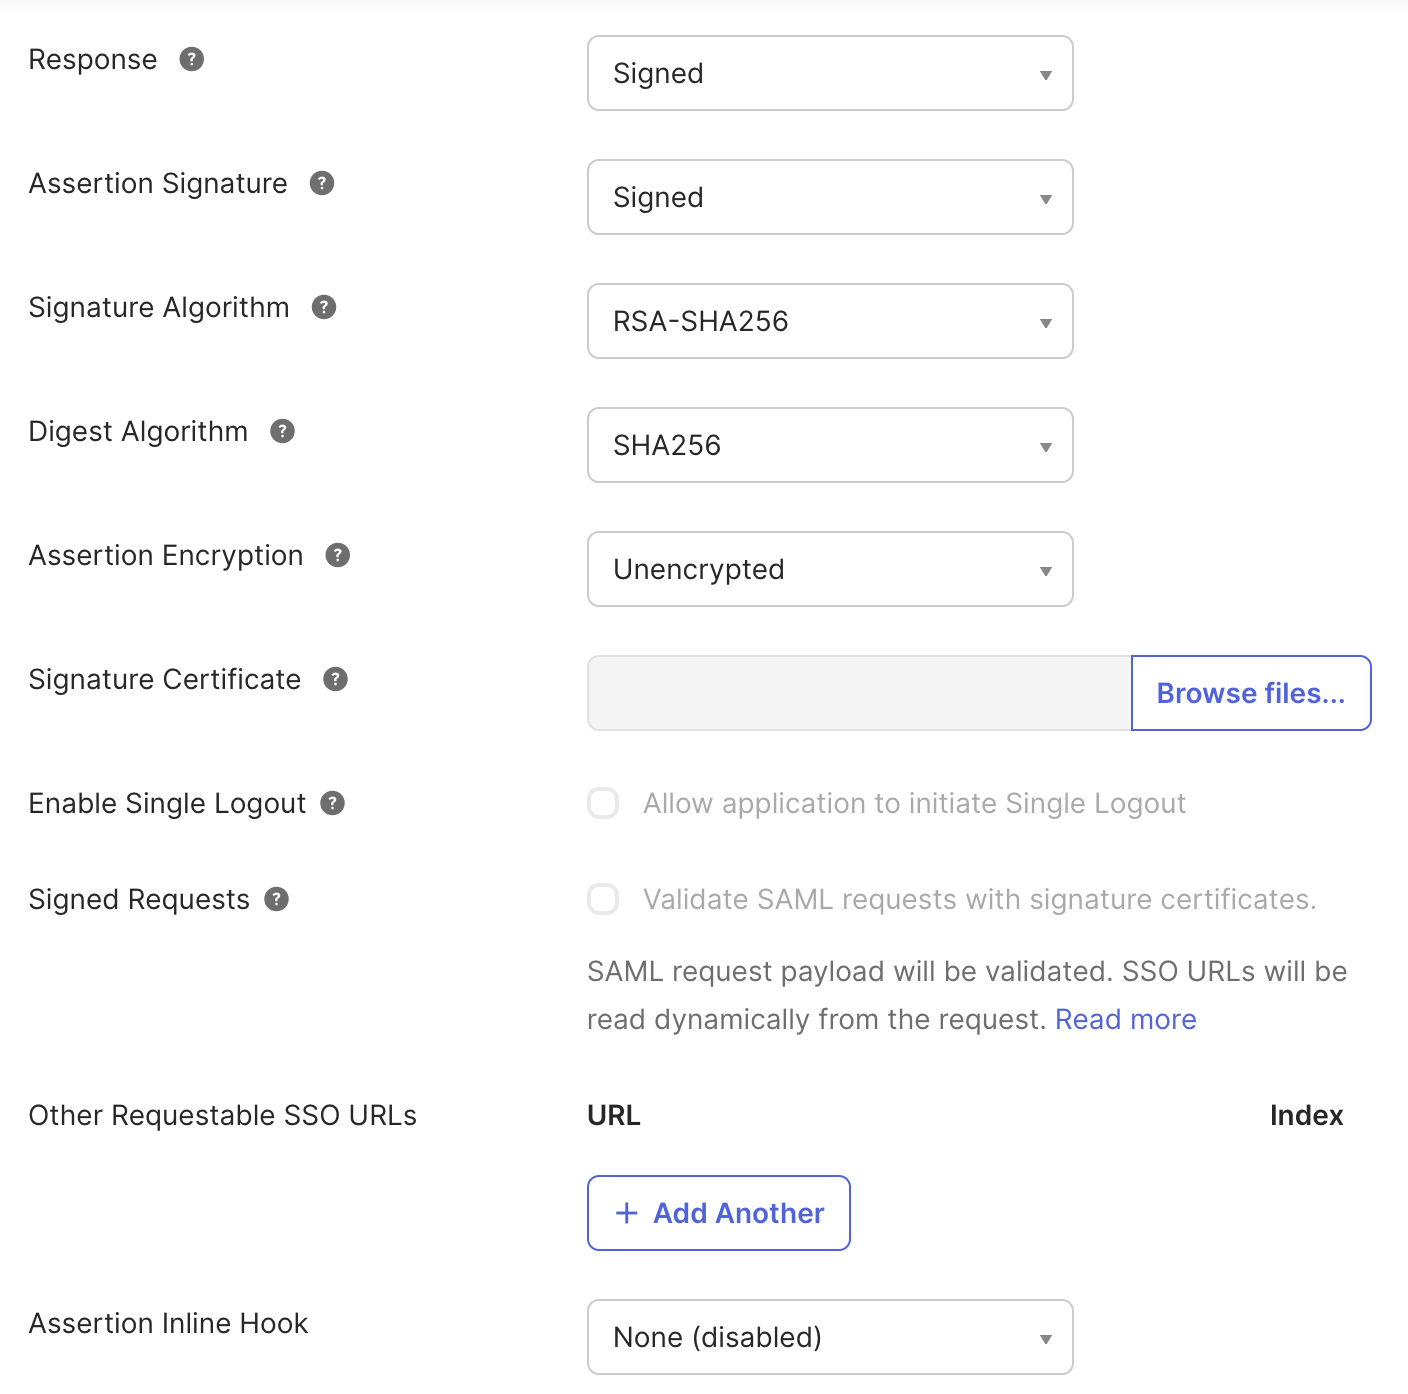
Advanced Settings (Use default settings)
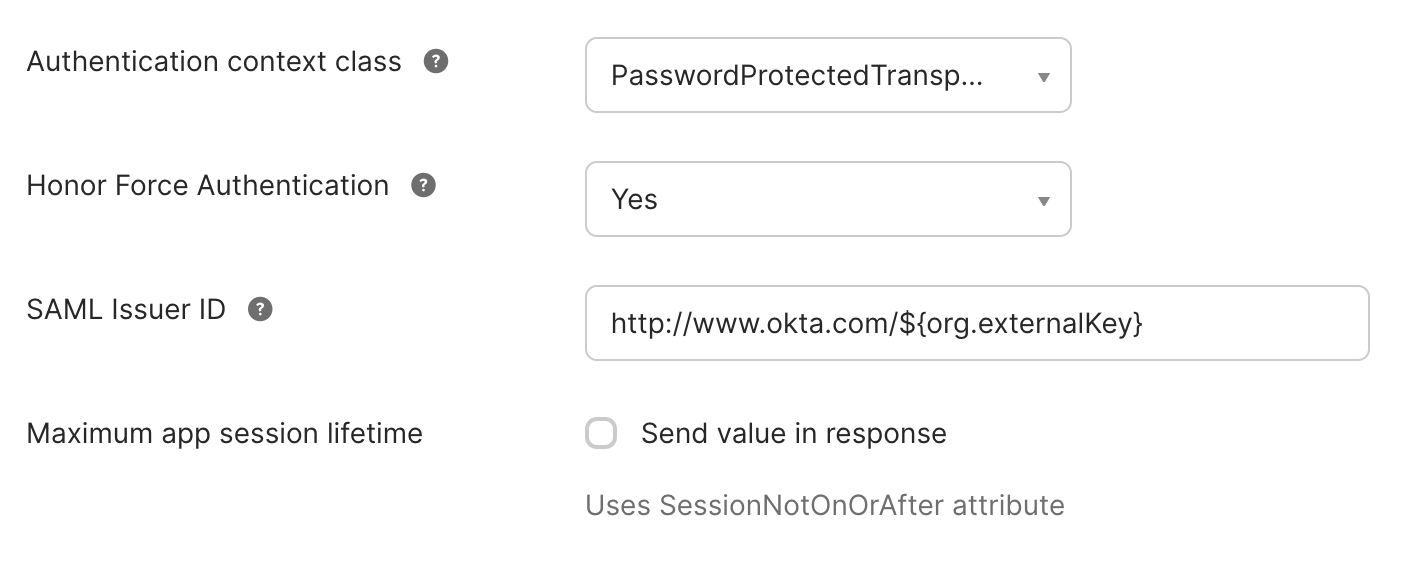
Advanced Settings (Use default settings)
Assign relevant users and/or groups
4. Feedback Settings
Select the appropriate option for your use case (typically "I'm an Okta customer adding an internal app") and click Finish.
5. Retrieve SAML Metadata for eezi Support
After creating the application:
- Navigate to the Sign On tab of your newly created app
- In the SAML Setup section, locate the Metadata details
- Right-click on Identity Provider metadata and copy the link address (this is your metadata URL)
Alternatively, you can view the metadata:
- Sign on methods → SAML 2.0 → View SAML setup instructions
- This page will show:
- Identity Provider Single Sign-On URL
- Identity Provider Issuer
- X.509 Certificate (for download if metadata URL cannot be shared)
6. Share Details with eezi Support
Provide your eezi technical support contact with:
| Item | Where to find it | Notes |
|---|---|---|
| Identity Provider metadata URL (preferred) | Step 5 | Allows automatic endpoint & certificate updates |
| Identity Provider Single Sign-On URL | SAML setup instructions | Also called Sign-in URL or SSO URL |
| Identity Provider Issuer | SAML setup instructions | The Okta Issuer URL |
| X.509 Certificate (optional) | SAML setup instructions | Only if policy forbids sharing metadata URL |
| All relevant domain identifiers | - | For SSO detection and identification on sign-in and sign-up |
In your support ticket/email, include:
- The metadata URL
- Sign-On URL
- Issuer URL
- Your organization name
- Specify that it's for eezi UAT SSO (or PROD)
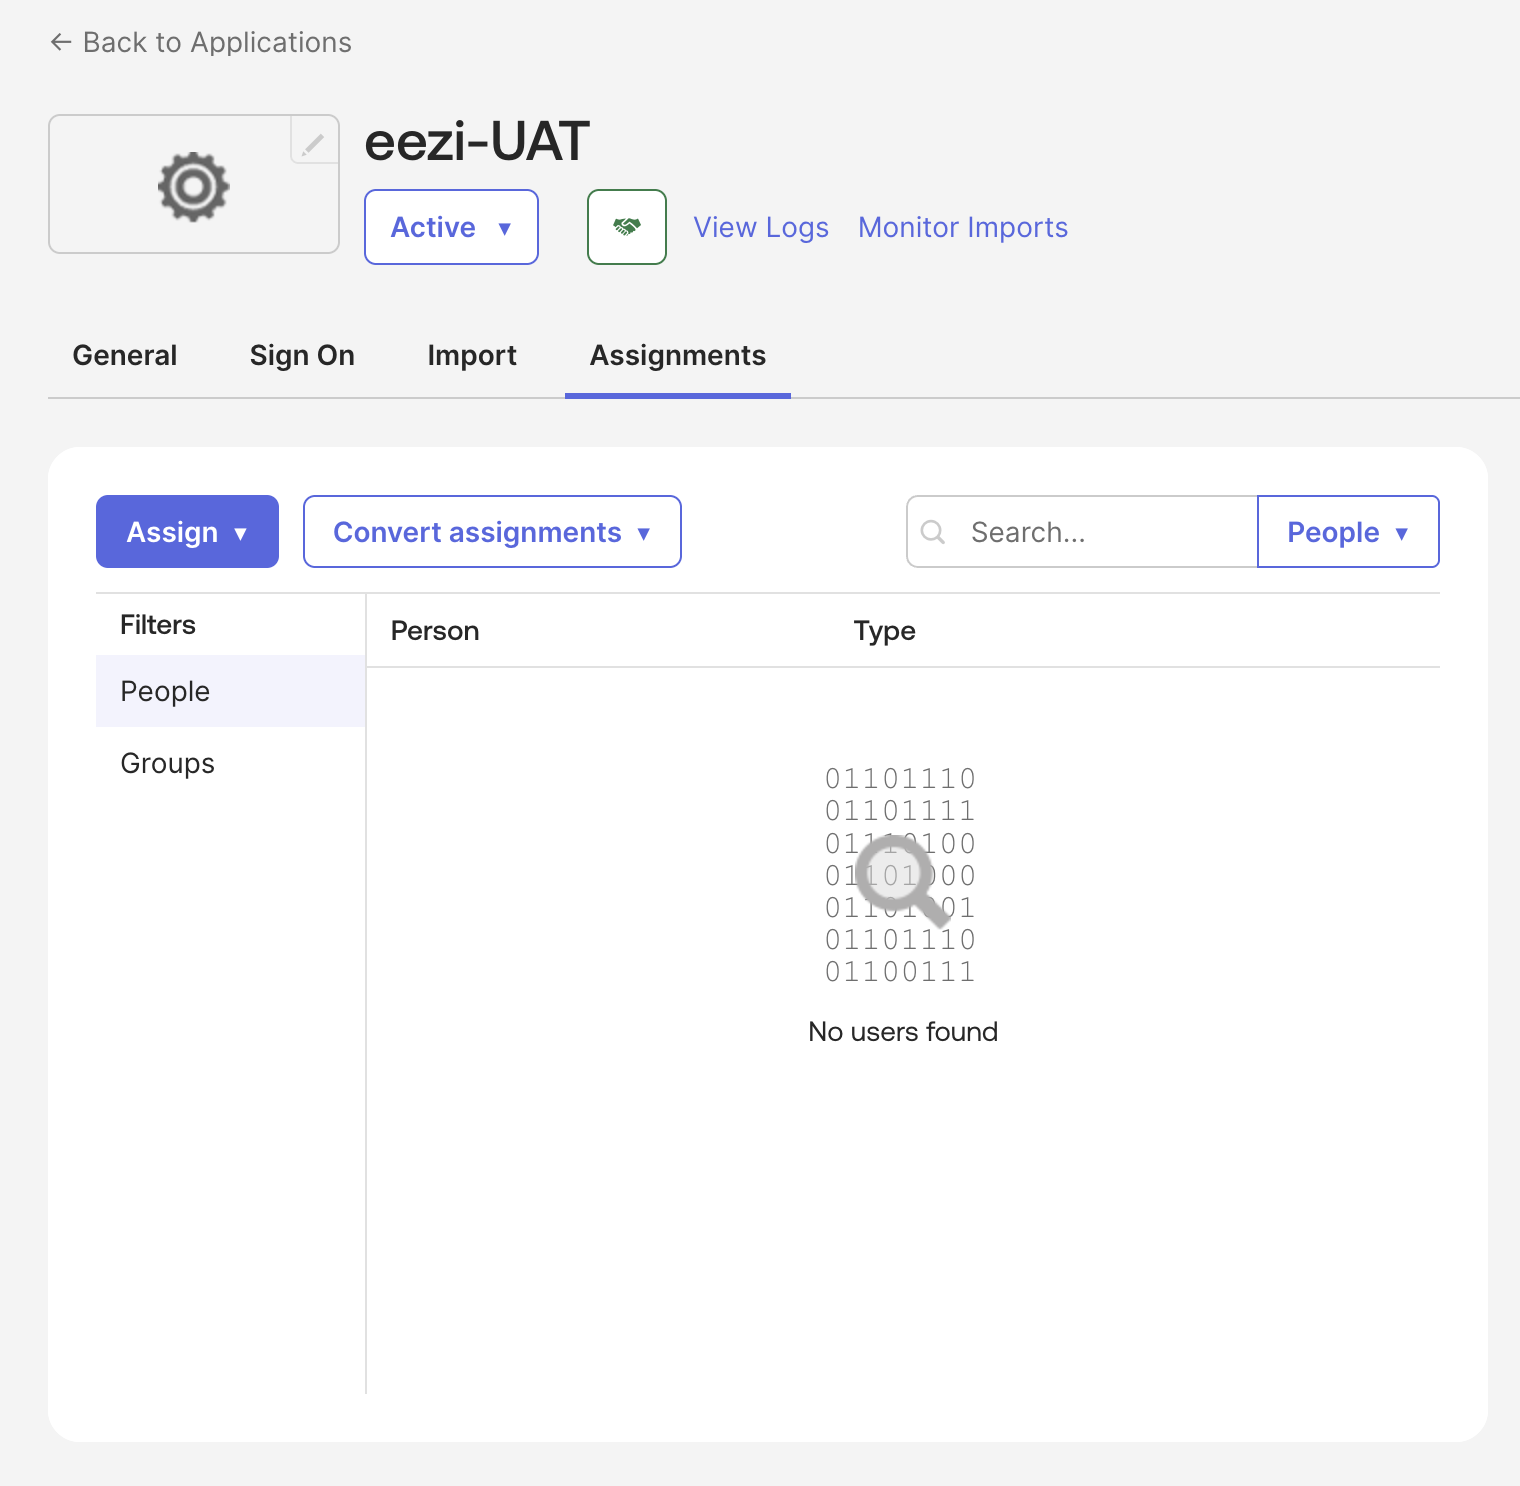
7. Assign Users and Groups
- Navigate to the Assignments tab of your eezi application
- Click Assign → Assign to People or Assign to Groups
- Add every user or group that should access eezi UAT/PROD
- Make sure you are assigned so you can test
- Click Done
8. Testing & Go-Live
- Wait for confirmation from eezi support that your metadata/certificate is loaded
- Test: Click the eezi app tile from your Okta dashboard or initiate sign-in directly from eezi
- Success? eezi will enable SSO for all assigned users
- Communicate any future user-assignment changes to your eezi support contact
Important Notes
- Enabling SSO doesn't sign existing users out immediately
- Keep your assigned user list current; only assigned users can sign in via SSO
- If Okta rotates its signing certificate, eezi will automatically pick it up via the metadata URL—no manual action required
- For production, repeat these steps using the PROD configuration values from the table at the top
Troubleshooting
If SSO is not working:
- Verify the Entity ID and ACS URL match exactly (including https:// and any trailing paths)
- Confirm the Name ID format is set to EmailAddress
- Check that users are assigned to the application in Okta
- Verify that eezi support has confirmed configuration on their end
- Review Okta system logs (Reports → System Log) for SAML errors
Updated 8 months ago
Did this page help you?